
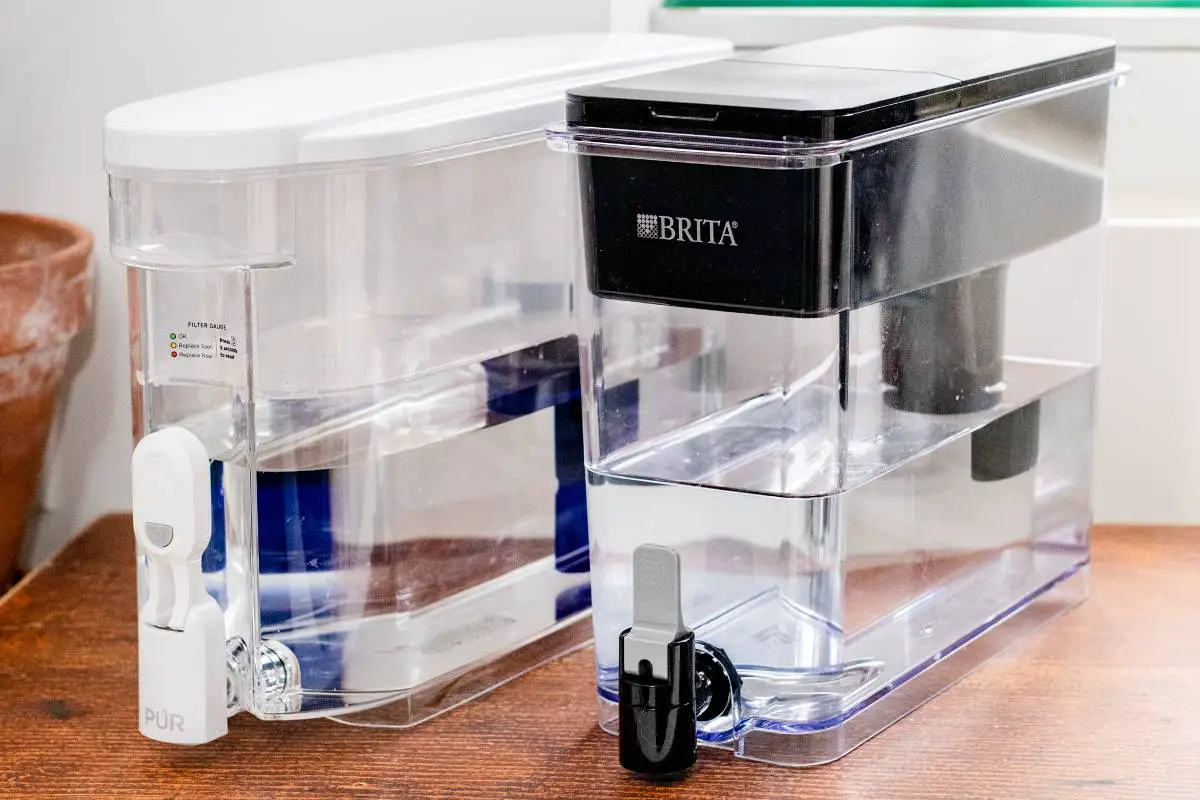
Have you ever come home from work to find a puddle of water around your refrigerator?
It’s enough to make you roll your eyes and ask, “Why is my Brita dispenser leaking?!”
Well, you’re not alone.
Leaks from Brita dispensers are a common issue that many people encounter.
Fortunately, the solution is often straightforward and easy to address.
But first, let’s take a look at why these leaks occur in the first place.
Identifying the Cause of the Leak
Leaks are the most common issue with certain types of Brita Dispensers, and they can be caused by a variety of factors.
The first place to start is to figure out what kind of leak it is.
Is it a slow drip or an ever-present stream?
Once you’ve determined the type of leak, there are three main culprits for why this might be happening:
Poor Installation
Ensure that your dispenser was installed properly and all parts were properly tightened.
If any parts were loose from the get-go, then the pressure from inside the reservoir can cause it to leak.
Defective Parts
Check for any parts that seem worn or damaged.
This includes any rubber seals, and gaskets as well as hoses or valves.
Also, inspect all parts for air bubbles that may have formed when installing them and caused them to come loose over time.
Clog
A clog in your Brita Dispenser’s lines can cause water to build up and break free elsewhere, resulting in a leaky situation.
Clean the filter lines regularly with fresh water and vinegar solution to ensure optimal water flow.
By following these steps, you should have a better idea of why your Brita Dispenser is leaking!
Checking the Seals Around the Brita Dispenser
If the seals around your Brita dispenser are damaged, you’ll want to check those first to diagnose the source of the leak.
With your hand, feel around the edges of the top part of the dispenser where it’s attached to the bottom part with two plastic seals.
If it feels loose or there’s any trace of moisture, then you might have identified your problem.
There’s a small possibility that you can reseal the Brita yourself and fix this problem on your own.
You can try pressing down firmly on both sides at once to get them to stick together more securely.
If this doesn’t work, then you’ll need to replace the entire dispenser with a new one.
Inspecting the Water Tanks and Lines
Now it’s time to move on to the tanks and water lines.
If your water tanks and lines are leaking, you’ll need to inspect everything more closely and troubleshoot the source of the leak.
To do this, follow these steps:
- Remove any excess water from the base of your Brita dispenser before you begin inspecting the tank.
This will help keep things dry while you’re looking around.
- Visually inspect the tank to make sure there’s no damage or cracks that may be causing a leak.
- Check for any kinked or pinched water supply lines—these can also cause a leak if not corrected promptly.
If none of those steps showed an issue, make sure the on/off valves are fully open, then check for any obstructions in the diverter or solenoid valve that may be causing a blockage or preventing proper operation.
If all else fails, tighten all nuts and bolts on the spigot handle along with connections from the branch supply line to diverter valves too – sometimes a loose connection could be causing your dispenser to leak as well!
Finding a Clog in the Water Line
If you’re dealing with a stopped-up Brita Dispenser, then it’s likely that the water line is clogged.
Clogs happen when debris or mineral deposits get stuck in the line, blocking the flow of water.
Luckily, it’s not too hard to spot a clog and fix it.
Here are a few tips to help you out:
Check the water line
Check your Brita Dispenser’s water line to make sure there aren’t any foreign objects blocking the flow of water.
Things like dirt, rocks, sand, and other debris can easily get stuck in the line and cause leaks.
Soak the filter
If your Brita Dispenser has been receiving consistent use over time, then mineral deposits may have built up in the filter.
Give your filter a good soak overnight in a half-and-half solution of vinegar and hot water.
This should dissolve any residue or buildup that could be causing your leak.
Replace filters on the schedule
It’s important to replace your filters on schedule (every two months or so), as old filters can start leaking due to blockages or worn-out seals.
To make sure you stay on track, consider signing up for an automatic delivery service so that you never run out!
Troubleshooting Steps to Fix a Brita Dispenser Leak
If you’re trying to solve the mystery of the Brita dispenser leak, there are a few troubleshooting steps you can take.
It’s important to figure out what’s causing the issue so that you can fix it and stop those watery messes from happening again.
Here is a list of things to check when troubleshooting a leaking Brita Dispenser:
- Inspect and replace filters if necessary.
- Check the tightness of connections.
- Clean your dispenser regularly.
- Check sealant quality.
- Look for problems with tubing or valves.
These steps should help you uncover just what causes leaks in your Brita dispenser and help keep messes from happening again in the future!
Conclusion
So, there you have it: the mystery behind the seemingly unexplainable Brita water dispenser leak.
As it turns out, the leak could be fixed through a few common and simple DIY solutions.
Whether it’s checking the lid seal, replacing the cap, or unclogging the spout, the problem can be quickly addressed with minimal hassle and expense.
Plus, it’s a great way to save the environment from unnecessary plastic waste from buying bottled water.
In addition to this troubleshooting guide, you can also contact Brita’s customer service team for additional advice and support.